Wrecks: Difference between revisions
(updating underwater islands wreck and other small fixes) |
|||
| Line 4: | Line 4: | ||
{{Biome2 |
{{Biome2 |
||
|image1 = Wrecks Infobox.png|type = Surface|depth_range = 100 - 500 meters|Gotoid = goto wreck(1-21)}} |
|image1 = Wrecks Infobox.png|type = Surface|depth_range = 100 - 500 meters|Gotoid = goto wreck(1-21)}} |
||
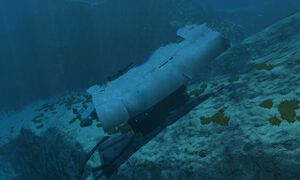
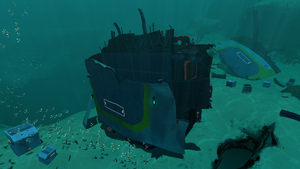
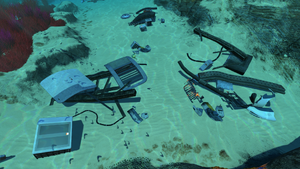
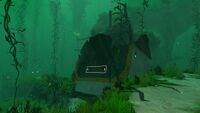
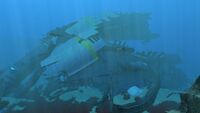
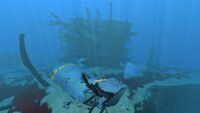
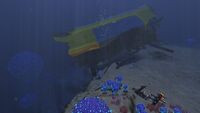
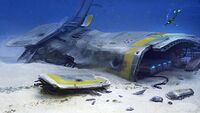
The '''Wrecks''' are explorable pieces of debris from the [[Aurora]].<ref>http://m.imgur.com/a/5QsZJ</ref> They have a wide range of sizes. Large Wrecks contain valuable technology in the form of [[Fragments]] and sometimes [[Data Boxes]] |
The '''Wrecks''' are explorable pieces of debris from the [[Aurora]].<ref>http://m.imgur.com/a/5QsZJ</ref> They have a wide range of sizes. Large Wrecks contain valuable technology in the form of [[Fragments]] and sometimes [[Data Boxes]] or [[Vac-pack]]s, while Small Wrecks contain only a limited amount of fragments. |
||
==Large Wrecks== |
==Large Wrecks== |
||
There are twenty-three Large Wrecks spread throughout the ocean at the beginning of the game. Each of them are surrounded by their local [[Flora]] and [[Fauna]] and possess their own unique challenges. Many of them include sections that are only accessible with the [[Laser Cutter]] or a [[Repair Tool]] or require unblocking the passage blocked with [[Cargo Crate]]s or other debris with [[Propulsion Cannon]]. While each contains a unique set of fragments, there are common items found in many Wrecks, for example chairs and desks. |
There are twenty-three Large Wrecks spread throughout the ocean at the beginning of the game. Each of them are surrounded by their local [[Flora]] and [[Fauna]] and possess their own unique challenges. Many of them include sections that are only accessible with the [[Laser Cutter]] or a [[Repair Tool]] or require unblocking the passage blocked with [[Cargo Crate]]s or other debris with a [[Propulsion Cannon]]. While each contains a unique set of fragments, there are common items found in many Wrecks, for example chairs and desks. |
||
==Large Wreck List== |
==Large Wreck List== |
||
| Line 545: | Line 545: | ||
| style="text-align:left; font-size:12px;" | |
| style="text-align:left; font-size:12px;" | |
||
*[[Bench]] |
*[[Bench]] |
||
| ⚫ | |||
| ⚫ | |||
| ⚫ | |||
| ⚫ | |||
*[[Alien Containment|Data Box - Alien Containment]] |
*[[Alien Containment|Data Box - Alien Containment]] |
||
*[[Creature Decoy|Data Box - Creature Decoy]] |
*[[Creature Decoy|Data Box - Creature Decoy]] |
||
*[[Cyclops Fire Suppression System|Data Box - Cyclops Fire Suppression System]] |
*[[Cyclops Fire Suppression System|Data Box - Cyclops Fire Suppression System]] |
||
*[[Repulsion Cannon|Data Box - Repulsion Cannon]] |
|||
*[[Swim Charge Fins|Data Box - Swim Charge Fins]] |
*[[Swim Charge Fins|Data Box - Swim Charge Fins]] |
||
*[[Data_Downloads#Data_Downloads_without headline|Data Terminal - Data Download without headline #1]] (-130 -190 885) |
|||
| ⚫ | |||
| ⚫ | |||
| ⚫ | |||
| ⚫ | |||
*[[Desk]] |
*[[Desk]] |
||
*[[Floodlight]] |
*[[Floodlight]] |
||
| ⚫ | |||
*[[Picture Frame]] |
*[[Picture Frame]] |
||
| ⚫ | |||
| ⚫ | |||
*[[Power Cell Charger|Power Cell Charger Fragments]] |
*[[Power Cell Charger|Power Cell Charger Fragments]] |
||
*[[Prawn Suit|Prawn Suit Fragments]] |
*[[Prawn Suit|Prawn Suit Fragments]] |
||
| ⚫ | |||
*[[Prawn Suit Grappling Arm|Prawn Suit Grappling Arm Fragments]] |
*[[Prawn Suit Grappling Arm|Prawn Suit Grappling Arm Fragments]] |
||
*[[Prawn Suit Propulsion Cannon|Prawn Suit Propulsion Cannon Fragments]] |
*[[Prawn Suit Propulsion Cannon|Prawn Suit Propulsion Cannon Fragments]] |
||
| ⚫ | |||
*[[Propulsion Cannon|Propulsion Cannon Fragments]] |
*[[Propulsion Cannon|Propulsion Cannon Fragments]] |
||
*[[Stasis Rifle|Stasis Rifle Fragments]] |
*[[Stasis Rifle|Stasis Rifle Fragments]] |
||
| ⚫ | |||
*[[Vac-pack]] |
|||
| style="text-align:center; font-size:13px;" | -102 -179 860 |
| style="text-align:center; font-size:13px;" | -102 -179 860 |
||
Revision as of 16:00, 24 January 2019

|
Read at own risk This article contains unmarked spoilers. Players new to the game would want to avoid or be cautious toward this article. |
<infobox layout="stacked">
 <title source="title1">
   <default>Wrecks</default>
 </title>
 <image source="image1">
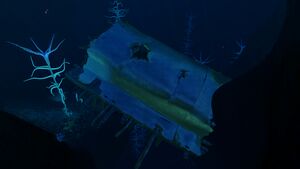
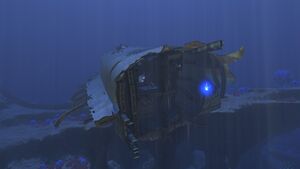
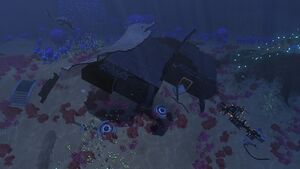
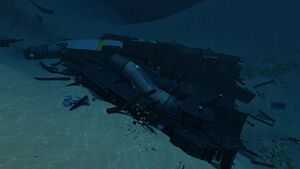
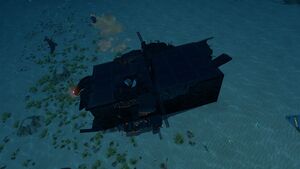
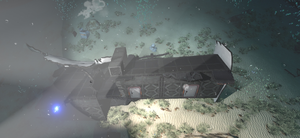
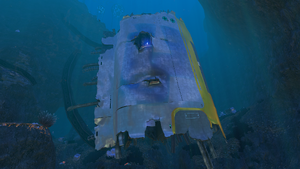
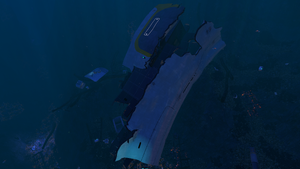
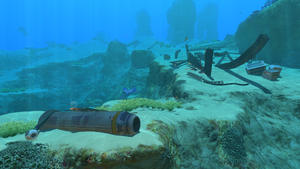
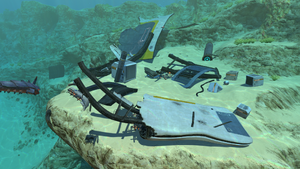
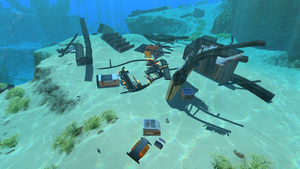
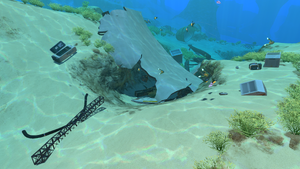
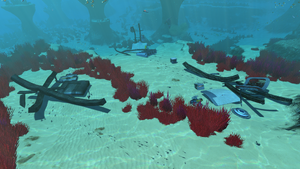
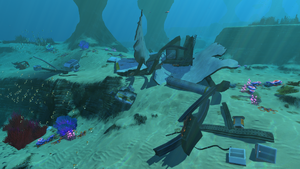
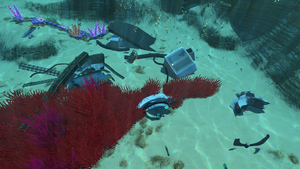
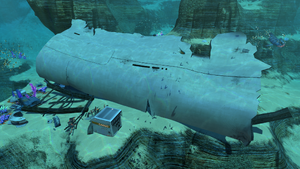
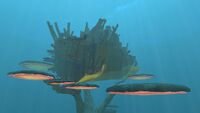
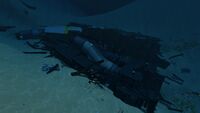
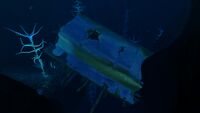
</image> <label>Tab</label> <label>Type</label> <label>Biome</label> <label>Depth Range</label> <label>Temperature Range</label> <label>Biome ID</label> <label>Harvesting Nodes</label> <label>goto ID</label> <label>Coordinates</label> <label>Base ID</label> <group> <label>Point of Interest</label> <label>Music</label> </group> </infobox> The Wrecks are explorable pieces of debris from the Aurora.[1] They have a wide range of sizes. Large Wrecks contain valuable technology in the form of Fragments and sometimes Data Boxes or Vac-packs, while Small Wrecks contain only a limited amount of fragments.
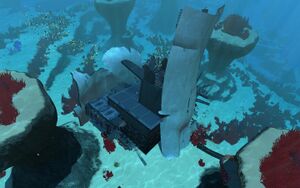
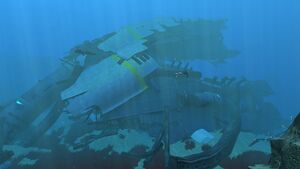
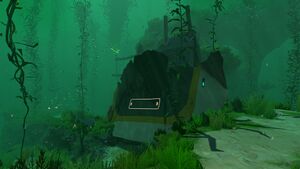
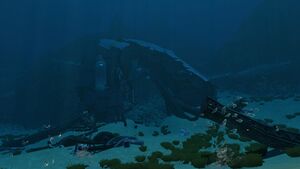
Large Wrecks
There are twenty-three Large Wrecks spread throughout the ocean at the beginning of the game. Each of them are surrounded by their local Flora and Fauna and possess their own unique challenges. Many of them include sections that are only accessible with the Laser Cutter or a Repair Tool or require unblocking the passage blocked with Cargo Crates or other debris with a Propulsion Cannon. While each contains a unique set of fragments, there are common items found in many Wrecks, for example chairs and desks.
Large Wreck List
Blood Kelp Trench=
|-| Bulb Zone=
|-| Dunes=
| Image | Items | Coordinates |
|---|---|---|
|
-1448 -332 723
(wreck6) | |
| -1632 -334 83 | ||
| -1210 -217 7 |
|-| Grand Reef=
|-| Grassy Plateaus=
|-| Kelp Forest=
| Image | Items | Coordinates |
|---|---|---|
| -320 -57 252
(wreck18) | ||
| 65 -25 385
(wreck17) |
|-| Mountains=
| Image | Items | Coordinates |
|---|---|---|
|
701 -346 1224
(wreck5) | |
| 1057 -254 1359
(wreck19) |
|-| Mushroom Forest=
|-| Safe Shallows=
| Image | Items | Coordinates |
|---|---|---|
| -40 -14 -400
(wreck15) | ||
| 366 -6 -203
(wreck16) |
|-| Sea Treader's Path=
|-| Sparse Reef=
|-| Underwater Islands=
Small Wrecks
Small Wrecks, also known as Scatters, can be found surrounding the Large Wrecks. They can contain useful items and fragments.
Safe Shallows=
| Image | Items | Coordinates |
|---|---|---|
| 20 -10 300
(scatter36) | ||
| 90 -20 120
(scatter39) | ||
| 65 -10 -85
(scatter38) | ||
| -160 -20 -225
(scatter40) | ||
| 175 -23 -253
(scatter41) | ||
| 310 -23 -119
(scatter37) |
|-| Grassy Plateaus=
| Image | Items | Coordinates |
|---|---|---|
| 165 -86 -520
(scatter32) | ||
| 322 -90 222
(scatter34) | ||
| 270 -85 70
(scatter35) | ||
| -370 -100 475
(scatter31) | ||
| -284 -93 606
(scatter42?) | ||
| -520 -90 -215
(scatter33) |
Gallery
<tabber> In Game View=
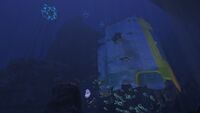
Safe Shallows Small Wreck 7
Safe Shallows Small Wreck 6
Safe Shallows Small Wreck 5
Safe Shallows Small Wreck 4
Safe Shallows Small Wreck 3
Safe Shallows Small Wreck 2
Safe Shallows Small Wreck 1
Safe Shallows Large Wreck 2
Safe Shallows Large Wreck 1
Kelp Forest Large Wreck 4
Kelp Forest Large Wreck 3
Kelp Forest Large Wreck 2
Kelp Forest Large Wreck 1
Grassy Plateaus Large Wreck 4
Grassy Plateaus Large Wreck 5
Grassy Plateaus Large Wreck 3
Grassy Plateaus Large Wreck 2
Grassy Plateaus Large Wreck 1
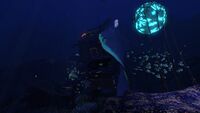
Bulb Zone Large Wreck 1
Mushroom Forest Large Wreck 1
Underwater Islands Large Wreck 1
Dunes Large Wreck 1
Sea Treader's Path Large Wreck 1
Mountains Large Wreck 1
Blood Kelp Zone Large Wreck 1
Grand Reef Large Wreck 1
Grand Reef Large Wreck 2
|-| Sketchfab Models=
Large Explorable Wreck Model from Sketchfab
Another Large Explorable Wreck Model from Sketchfab
Small Explorable Wreck's Model from Sketchfab
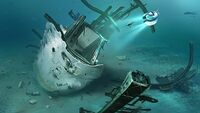
|-| Concept Art=
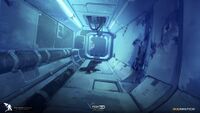
Large Explorable Wreck's Concept art
</tabber>


