
Fragments (Subnautica): Difference between revisions
(test) Tag: 2017 source edit |
No edit summary Tag: 2017 source edit |
||
| Line 65: | Line 65: | ||
|- |
|- |
||
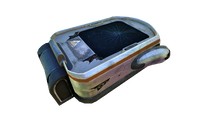
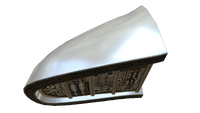
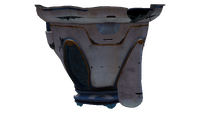
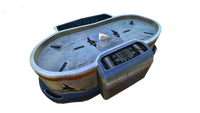
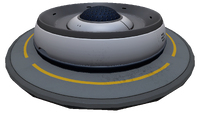
| style="text-align:center; font-size:12px;" |[[File:Cyclops Hull Fragments-3.png|200px|center|link=Cyclops]][[Cyclops|Cyclops Hull]] |
| style="text-align:center; font-size:12px;" |<tabber>1=[[File:Cyclops Hull Fragments-1.png|200px|center|link=Cyclops]][[Cyclops|Cyclops Hull]]|-|2=[[File:Cyclops Hull Fragments-2.png|200px|center|link=Cyclops]][[Cyclops|Cyclops Hull]]|-|3=[[File:Cyclops Hull Fragments-3.png|200px|center|link=Cyclops]][[Cyclops|Cyclops Hull]]</tabber> |
||
| style="text-align:center; font-size:12px;" |''CyclopsHullFragment'' |
| style="text-align:center; font-size:12px;" |''CyclopsHullFragment'' |
||
| style="text-align:center;" |3 |
| style="text-align:center;" |3 |
||
| Line 104: | Line 104: | ||
|- |
|- |
||
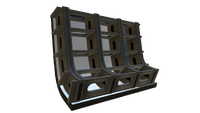
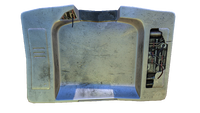
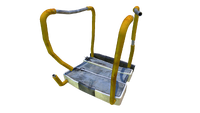
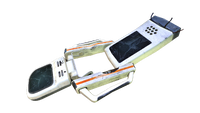
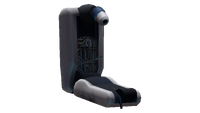
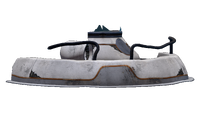
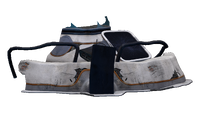
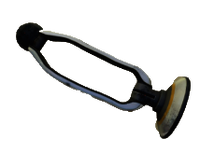
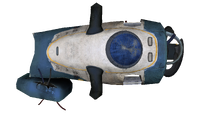
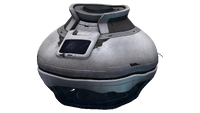
| style="text-align:center; font-size:12px;" |[[File:Mobile Vehicle Bay Fragments 2.png|200px|center|link=Mobile Vehicle Bay]][[Mobile Vehicle Bay]] |
| style="text-align:center; font-size:12px;" |<tabber>1=[[File:Mobile Vehicle Bay Fragments 1.png|200px|center|link=Mobile Vehicle Bay]]|-|2=[[Mobile Vehicle Bay]][[File:Mobile Vehicle Bay Fragments 2.png|200px|center|link=Mobile Vehicle Bay]][[Mobile Vehicle Bay]]|-|3=[[File:Mobile Vehicle Bay Fragments 3.png|200px|center|link=Mobile Vehicle Bay]][[Mobile Vehicle Bay]]|-|4=[[File:Mobile Vehicle Bay Fragments 4.png|200px|center|link=Mobile Vehicle Bay]][[Mobile Vehicle Bay]]|-|5=[[File:Mobile Vehicle Bay Fragments 5.png|200px|center|link=Mobile Vehicle Bay]][[Mobile Vehicle Bay]]</tabber> |
||
| style="text-align:center; font-size:12px;" |''ConstructorFragment'' |
| style="text-align:center; font-size:12px;" |''ConstructorFragment'' |
||
| style="text-align:center;" |3 |
| style="text-align:center;" |3 |
||
| Line 115: | Line 115: | ||
|- |
|- |
||
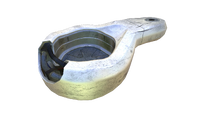
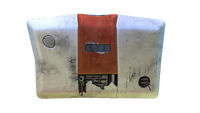
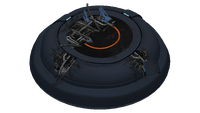
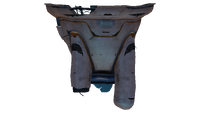
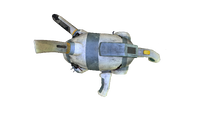
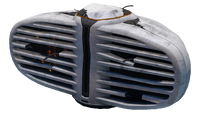
| style="text-align:center; font-size:12px;" |[[File:Modification_Station Fragment 2.png|200px|center|link=Modification Station]][[Modification Station]] |
| style="text-align:center; font-size:12px;" |<tabber>1=[[File:Modification_Station Fragment 1.png|200px|center|link=Modification Station]]|-|2=[[Modification Station]][[File:Modification_Station Fragment 2.png|200px|center|link=Modification Station]][[Modification Station]]|-|3=[[File:Modification_Station Fragment 3.png|200px|center|link=Modification Station]][[Modification Station]]</tabber> |
||
| style="text-align:center; font-size:12px;" |''WorkbenchFragment'' |
| style="text-align:center; font-size:12px;" |''WorkbenchFragment'' |
||
| style="text-align:center;" |3 |
| style="text-align:center;" |3 |
||
| Line 127: | Line 127: | ||
|- |
|- |
||
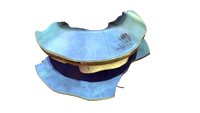
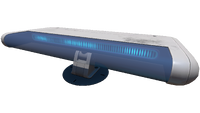
| style="text-align:center; font-size:12px;" |<tabber>1=[[File:Moonpool Fragment 1.png|200px|center|link=Moonpool]][[Moonpool]][[File:Moonpool Fragment 2.png|200px|center|link=Moonpool]][[Moonpool]]|-|2=[[File:Moonpool Fragment 2.png|200px|center|link=Moonpool]][[Moonpool]]|-|3=[[File:Moonpool Fragment 3.png|200px|center|link=Moonpool]][[Moonpool]]|-|4=[[File:Moonpool Fragment 4.png|200px|center|link=Moonpool]][[Moonpool]]|-|5=[[File:Moonpool Fragment 5.png|200px|center|link=Moonpool]][[Moonpool]]|-|6=[[File:Moonpool Fragment 6.png|200px|center|link=Moonpool]][[Moonpool]]</tabber> |
|||
| style="text-align:center; font-size:12px;" |[[File:Moonpool Fragment 2.png|200px|center|link=Moonpool]][[Moonpool]] |
|||
| style="text-align:center; font-size:12px;" |''MoonpoolFragment'' |
| style="text-align:center; font-size:12px;" |''MoonpoolFragment'' |
||
| style="text-align:center;" |2 |
| style="text-align:center;" |2 |
||
| Line 140: | Line 141: | ||
|- |
|- |
||
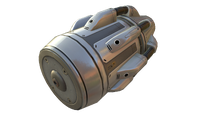
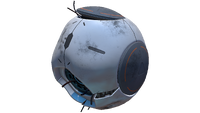
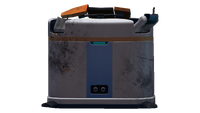
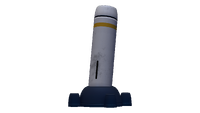
| style="text-align:center; font-size:12px;" |[[File:Nuclear Reactor Fragment 1.png|200px|center|link=Nuclear Reactor]][[Nuclear Reactor]] |
| style="text-align:center; font-size:12px;" |<tabber>1=[[File:Nuclear Reactor Fragment 1.png|200px|center|link=Nuclear Reactor]][[Nuclear Reactor]]|-|2=[[File:Nuclear Reactor Fragment 2.png|200px|center|link=Nuclear Reactor]][[Nuclear Reactor]]|-|3=[[File:Nuclear Reactor Fragment 3.png|200px|center|link=Nuclear Reactor]][[Nuclear Reactor]]|-|4=[[File:Nuclear Reactor Fragment 4.png|200px|center|link=Nuclear Reactor]][[Nuclear Reactor]]</tabber> |
||
| style="text-align:center; font-size:12px;" |''BaseNuclearReactorFragment'' |
| style="text-align:center; font-size:12px;" |''BaseNuclearReactorFragment'' |
||
| style="text-align:center;" |3 |
| style="text-align:center;" |3 |
||
| Line 151: | Line 152: | ||
|- |
|- |
||
| style="text-align:center; font-size:12px;" |[[File:Power Cell Charger Fragment 2.png|200px|center|link=Power Cell Charger]][[Power Cell Charger]] |
| style="text-align:center; font-size:12px;" |<tabber>1=[[File:Damaged Power Cell Charger.png|200px|center|link=Power Cell Charger]][[Power Cell Charger]]|-|2=[[File:Power Cell Charger Fragment 2.png|200px|center|link=Power Cell Charger]][[Power Cell Charger]]</tabber> |
||
| style="text-align:center; font-size:12px;" |''PowerCellChargerFragment'' |
| style="text-align:center; font-size:12px;" |''PowerCellChargerFragment'' |
||
| style="text-align:center;" |2 |
| style="text-align:center;" |2 |
||
| Line 242: | Line 243: | ||
|- |
|- |
||
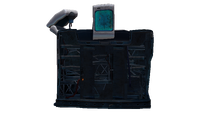
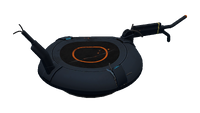
| style="text-align:center; font-size:12px;" |[[File:Scanner Room Fragment 3.png|200px|center|link=Scanner Room]][[Scanner Room]] |
| style="text-align:center; font-size:12px;" |<tabber>1=[[File:Scanner Room Fragment 1.png|200px|center|link=Scanner Room]][[Scanner Room]]|-|2=[[File:Scanner Room Fragment 2.png|200px|center|link=Scanner Room]][[Scanner Room]]|-|3=[[File:Scanner Room Fragment 3.png|200px|center|link=Scanner Room]][[Scanner Room]]|-|4=[[File:Scanner Room Fragment 4.png|200px|center|link=Scanner Room]][[Scanner Room]]</tabber> |
||
| style="text-align:center; font-size:12px;" |''BaseMapRoomFragment'' |
| style="text-align:center; font-size:12px;" |''BaseMapRoomFragment'' |
||
| style="text-align:center;" |3 |
| style="text-align:center;" |3 |
||
| Line 266: | Line 267: | ||
|- |
|- |
||
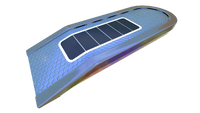
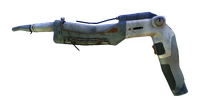
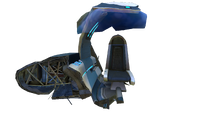
| style="text-align:center; font-size:12px;" |[[File:Seamoth Fragment1.png|200px|center|link=Seamoth]][[Seamoth]] |
| style="text-align:center; font-size:12px;" |<tabber>1=[[File:Seamoth Fragment1.png|200px|center|link=Seamoth]][[Seamoth]]|-|2=[[File:Seamoth Fragment2.png|200px|center|link=Seamoth]][[Seamoth]]|-|3=[[File:Seamoth Fragment3.png|200px|center|link=Seamoth]][[Seamoth]]|-|4=[[File:Seamoth Fragment4.png|200px|center|link=Seamoth]][[Seamoth]]</tabber> |
||
| style="text-align:center; font-size:12px;" |''SeamothFragment'' |
| style="text-align:center; font-size:12px;" |''SeamothFragment'' |
||
| style="text-align:center;" |3 |
| style="text-align:center;" |3 |
||
| Line 288: | Line 289: | ||
|- |
|- |
||
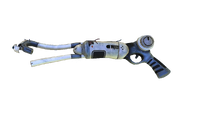
| style="text-align:center; font-size:12px;" |[[File:Thermal Plant Fragment 1.png|200px|center|link=Thermal Plant]][[Thermal Plant]] |
| style="text-align:center; font-size:12px;" |<tabber>1=[[File:Thermal Plant Fragment 1.png|200px|center|link=Thermal Plant]][[Thermal Plant]]|-|2=[[File:Thermal Plant Fragment 2.png|200px|center|link=Thermal Plant]][[Thermal Plant]]|-|3=[[File:Thermal Plant Fragment 3”3.png|200px|center|link=Thermal Plant]][[Thermal Plant]]</tabber> |
||
| style="text-align:center; font-size:12px;" |''ThermalPlantFragment'' |
| style="text-align:center; font-size:12px;" |''ThermalPlantFragment'' |
||
| style="text-align:center;" |2 |
| style="text-align:center;" |2 |
||
Revision as of 15:22, 9 December 2020
This article is about {{#explode:Fragments (Subnautica)|(}} in Subnautica. [[{{#explode:Fragments (Subnautica)|(}} (Below Zero)|Click here]] for information on this subject in Below Zero.
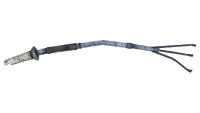
Fragments are broken pieces of advanced technology that can be analyzed by the Scanner to create Blueprints. They are found inside Wrecks, strewn across many Biomes around the Aurora, and scattered throughout the Degasi Seabases. Depending on the technology being analyzed, a different number of Fragments may be required to acquire the blueprint. Scanning a Fragment for which the player already has a complete blueprint will convert the Fragment into two pieces of Titanium.
Currently Available Fragments


Unused
| Blueprint | DebugSpawn | # Fragments | Location | Tab |
|---|---|---|---|---|
 |
TransfuserFragment | 2 |
- |
Tools |
Gallery


Trivia
- In the past, Fragments could be picked up and had to be researched using the Fragment Analyzer. This system was scrapped with the introduction of the Scanner.
- By using Console Commands, it is possible to spawn in fragments which when dropped, will become a black cube.
References
Lua error in package.lua at line 80: module 'Dev:Navbox' not found.