Wrecks: Difference between revisions
UnderseaDee (talk | contribs) (Update small wreck fragments) Tag: rte-source |
UnderseaDee (talk | contribs) No edit summary Tag: rte-source |
||
| Line 441: | Line 441: | ||
| style="text-align:center; font-size:12px;" |[[Safe Shallows]] |
| style="text-align:center; font-size:12px;" |[[Safe Shallows]] |
||
| style="text-align:left; font-size:12px;" | |
| style="text-align:left; font-size:12px;" | |
||
* |
*[[Seaglide|Seaglide Fragments]] |
||
*[[Grav Trap|Grav Trap Fragments]] |
*[[Grav Trap|Grav Trap Fragments]] |
||
*[[Beacon|Beacon Fragments]] |
*[[Beacon|Beacon Fragments]] |
||
| Line 450: | Line 450: | ||
| style="text-align:left; font-size:12px;" | |
| style="text-align:left; font-size:12px;" | |
||
*[[Lab Counter]] |
*[[Lab Counter]] |
||
*[[ |
*[[Seaglide|Seaglide Fragments]] |
||
*[[Grav Trap|Grav Trap Fragments]] |
*[[Grav Trap|Grav Trap Fragments]] |
||
*[[Beacon|Beacon Fragments]] |
*[[Beacon|Beacon Fragments]] |
||
| Line 510: | Line 510: | ||
| style="text-align:center; font-size:12px;" |[[Grassy Plateaus]] |
| style="text-align:center; font-size:12px;" |[[Grassy Plateaus]] |
||
| style="text-align:left; font-size:12px;" | |
| style="text-align:left; font-size:12px;" | |
||
*[[Bioreactor|Bioreactor Fragments]] |
|||
*[[Scanner Room|Scanner Room Fragments]] |
*[[Scanner Room|Scanner Room Fragments]] |
||
*[[Seamoth|Seamoth Fragments]] |
|||
| style="text-align:center; font-size:13px;" | -370 -100 475 |
| style="text-align:center; font-size:13px;" | -370 -100 475 |
||
|- |
|- |
||
Revision as of 02:18, 16 August 2017

|
Read at own risk This article contains unmarked spoilers. Players new to the game would want to avoid or be cautious toward this article. |

|
This seems new This article contains information that is updated for the latest Experimental Version of Subnautica. Players using stable mode may find this information inaccurate. |
<infobox layout="stacked">
 <title source="title1">
   <default>Wrecks</default>
 </title>
 <image source="image1">
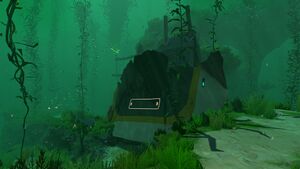
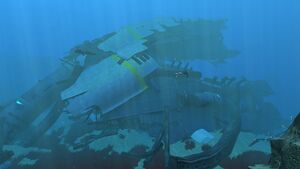
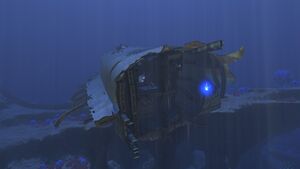
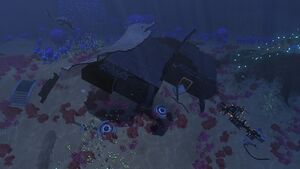
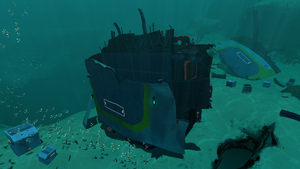
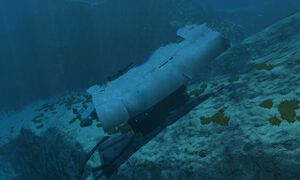
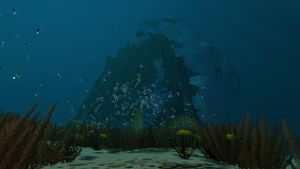
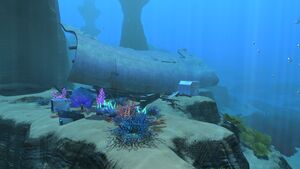
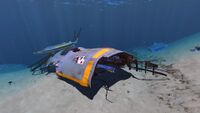
</image> <label>Tab</label> <label>Type</label> <label>Biome</label> <label>Depth Range</label> <label>Temperature Range</label> <label>Biome ID</label> <label>Harvesting Nodes</label> <label>goto ID</label> <label>Coordinates</label> <label>Base ID</label> <group> <label>Point of Interest</label> <label>Music</label> </group> </infobox> The Wrecks are explorable pieces of debris from the Aurora[1]. They have wide range of sizes. Large Wrecks contain valuable technology in the form of Fragments and sometimes Data Boxes, while Small Wrecks may contain only Vac-packs.
Large Wrecks
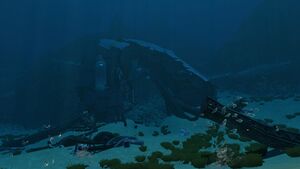
There are 23 Large Wrecks spread throughout the ocean after the Aurora explodes. Each of them are surrounded by their local Flora and Fauna and possess their own unique challenges. Many of them include sections that are only accessible with the Laser Cutter. While each contains a unique set of fragments, there are common items found in many Wrecks, for example, chairs and desks.
Large Wreck List
Small Wrecks
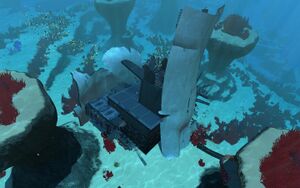
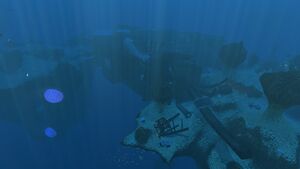
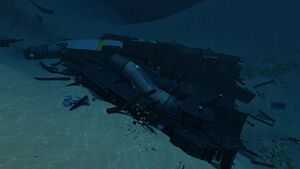
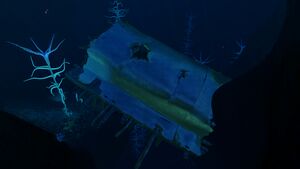
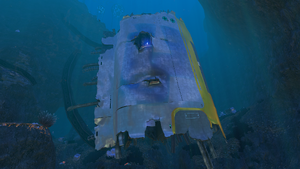
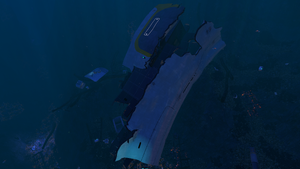
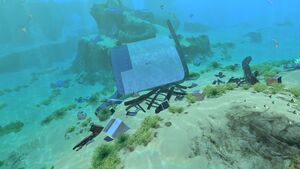
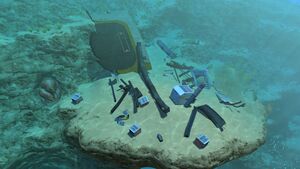
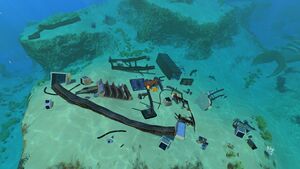
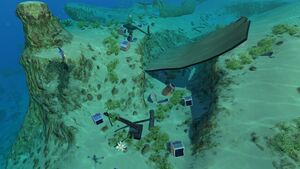
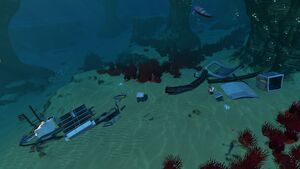
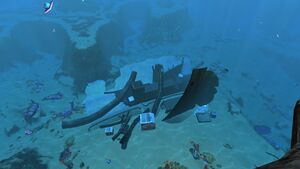
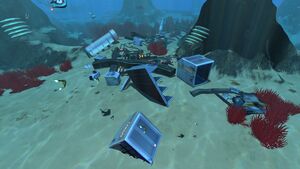
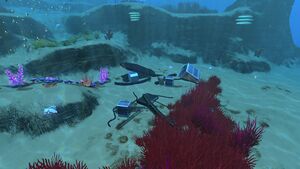
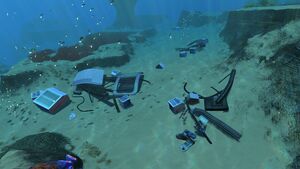
Small Wrecks can be found surrounding the Large Wrecks and inside the Crash Zone. They can contain useful items and fragments.
| Image | Biome | Items | Coordinates |
|---|---|---|---|
| Safe Shallows | 20 -10 300 | ||
| Safe Shallows | 90 -20 120 | ||
| Safe Shallows | 65 -10 -85 | ||
| Safe Shallows | -160 -20 -225 | ||
| Safe Shallows | 175 -23 -253 | ||
| Safe Shallows | 310 -23 -119 | ||
| Grassy Plateaus | 165 -86 -520 | ||
| Grassy Plateaus | 322 -90 222 | ||
| Grassy Plateaus | 270 -85 70 | ||
| Grassy Plateaus | -370 -100 475 | ||
| Grassy Plateaus | -284 -93 606 | ||
| Grassy Plateaus | -520 -90 -215 |
Future Plans
Gallery
Large Explorable Wreck Model from Sketchfab
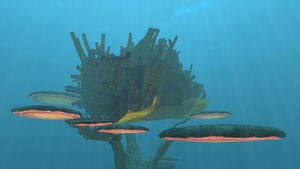
Another Large Explorable Wreck Model from Sketchfab
Small Explorable Wreck's Model from Sketchfab
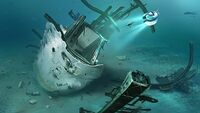
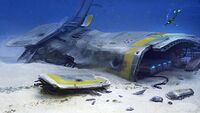
Large Explorable Wreck's Concept Art
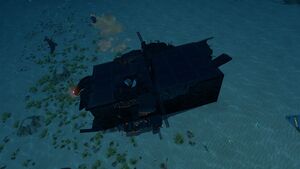
Small Wreckage, found in the Crash Zone
For a more complete gallery, see Wrecks/Gallery.


